Wednesday, July 13, 2011

Preview of Kaitlyn's Baby pictures


I got to do a fun baby photo shoots yesterday. Thankfully the rain stayed away until we were done. This little girl is SO very loved by her 3 big brothers - even if they didn't really want to get in the pictures - ha ha! More pictures to come.


Friday, May 06, 2011

18 month photo shoot

Took two days, 3 adults, 1 frisbee and lots of photoshopping - but we managed to get Caleb's 18 month photos taken. Here are the photos from Caleb's perspective:


Hmmm - are you really sure you want to see all these pictures? There are a lot. But they're pretty cute.


This is my Calvin (and Hobbs) face


A typical Caleb face


I'm surprised you made it this far


Ok I'm bored - let's go play somewhere.


Ok, Mom. I'll smile for Brandilyn...but I'll slouch against the wall since you're STILL making me get pictures taken


I'm really done getting pictures taken


Ok - here's a smile. See? I smiled.

Hmmm - maybe I'll go play somewhere else
]

Yay for playing!

And after 2 days worth of shooting - you might get pictures I might smile just a little...against the one backdrop Mom doesn't really like.


And then I'll try out the three small stairs nearby and face plant - into the door - resulting in tears, bumps, tears, scrapes, screaming, tears, and an inconsolable little squirt.

And then Dad might just show me the motorcycle

And I won't even think about liking it until he honks the horn.

And then I'll have to try it. And the tears will stop for a moment.

Then we'll all take a trip to Grandma's house to decompress and forget about everything for a while.

Then Mom will spend a few hours photoshopping to get a picture she really likes.


But it is a pretty good picture, don't you think?

Thursday, March 24, 2011

Point and Shoot Camera Tip #1

The first step to improving your photos with your point and shoot camera is working on lighting. Natural light is best for photos, especially window light. In the winters here in Idaho we get a lot of good window light. Clouds diffuse the light - or break it up. Direct sunlight is pretty harsh and leave shadows, but when there are clouds (especially when it is still bright outside) it is about the best lighting you could get. If you're indoors and using window light turn off the other lights in the room. Incandescent (light) bulbs are great to help us see, but make photo subjects appear pretty flat.

Also, turn the flash on your camera off. Most point and shoot cameras have a little lightening symbol on a button and by pushing it, sometimes three or four times, you can get the flash to go off. My point and shoot camera has 3 options I can get by pushing the flash button: Auto Flash, Flash On, Flash Off.

Using the flash can help you get a photo when it's kind of dark, but a camera's flash will make a photo look flat. Photos taken without a flash and with good lighting are pleasing to the eye. It's fairly simple to turn off the flash and it will improve your photos immensely.

Photo with flash - Photo without flash

Photos are unedited

Come visit me at http://www.examiner.com/life-photos-1-in-idaho-falls/stacy-robbins and leave your blog address in the comments so you can share your photos with others!

Thursday, February 24, 2011

Thursday Tutorial - Type Tool - Easy

Here's a fun photoshop tutorial. I haven't done a tutorial for quite a while and I think I ought to do them again. I'll try for every Thursday. Do you have a good idea for a tutorial? Something you'd like to see done? Leave me a comment and let me know what you're interested in learning.

Create type from an image


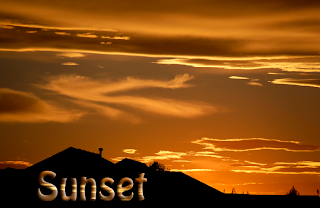
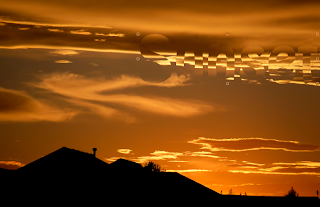
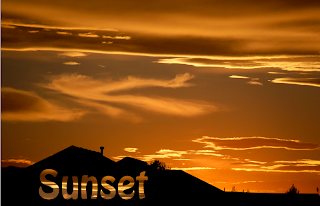
Ok - here's my original image


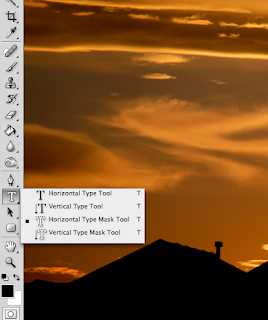
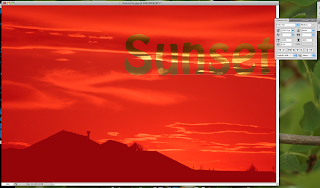
The tool you need is underneath the type tool. You can click and hold to get the options up or you can use the hot key t and use shift+t to scroll through the options. Pick the one with the marching ants (I used the horizontal one)


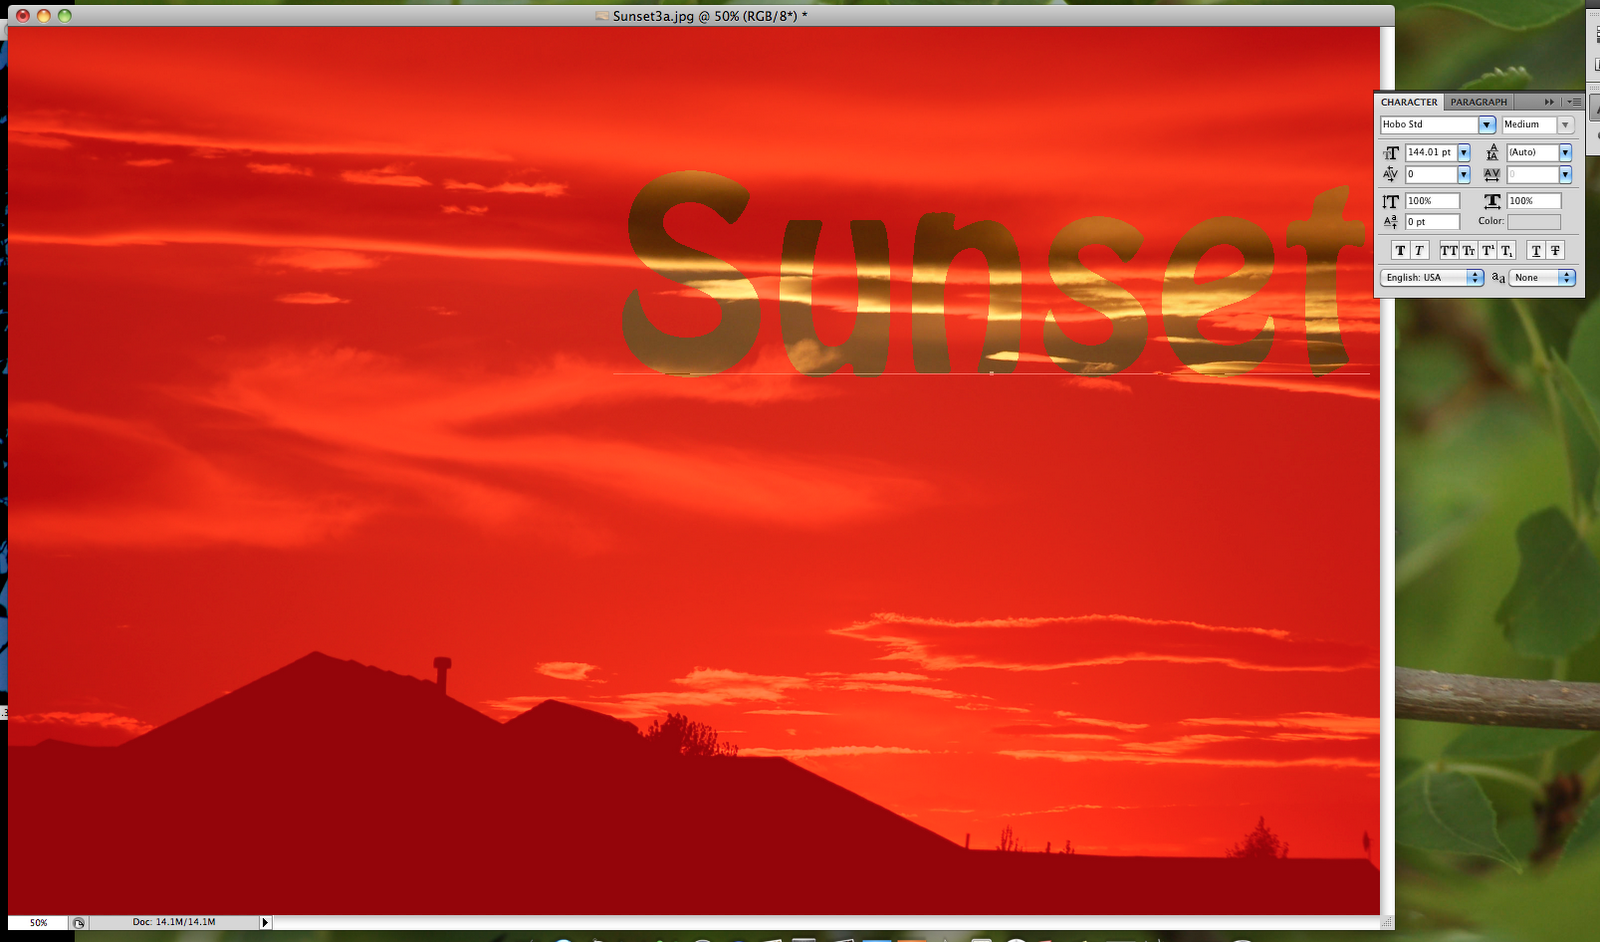
When you click on your image with this tool selected it puts a quick mask on the image. This turns the image red. This color is temporary. Make your text big and use a thick font so you can actually see the image inside. You can also move the text around so you can get the part of the image you really want.


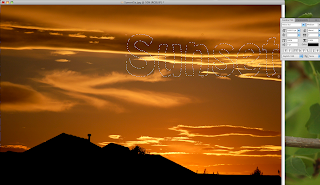
Now click on the arrow button. Don't try to use the hot key v for this one - it will add to your text. When you click on the arrow tool the red mask will disappear and you will have marching ants around your text.


If you want to move this text to a separate image just drag it there. If you want to use it in the same image copy that selection. The hot key is apple/command+ j.

It will look as though your selection is gone - but if you look in the layers pallet you will see you now have two layers instead of one.

Use the arrow keys to start moving the selection so you can see it.

Drag the text where you want it.

Resize the text if need be.

To get the layer style palette up double click on Layer 1 (not on the text - just to the right).

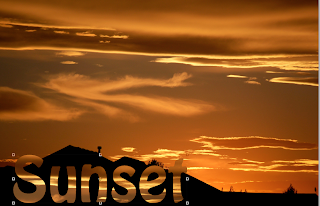
I used the Bevel & Emboss option and softened it a little. This is a fun tool to play with. The drop shadow is a great tool as well, but my background was black so a drop shadow wouldn't show up.


Click on OK. Now your image is done.


Do you have a good idea for a tutorial? Something you'd like to see done? Leave me a comment and let me know what you're interested in learning.

Tuesday, February 22, 2011

Reception

My best friend got married in January. She got married far away from me and I wasn't even able to go to the wedding - but I did get to photograph her reception here in Rexburg. It was my first big photo shoot with my studio lights. It was so exciting!


Now that I'm posting these I realize I never posted Bridal pictures...something I will soon need to post. Jenna and I had way too much fun taking Bridal pictures.


What a lucky guy Jared is to have won the heart of my best friend.


Gotta love the sibling pictures!